Bespoke Burley Bucket
While waiting for the boat kit, today I decided to put
the cart before the horse and assemble together a quick burley bucket
for the new boat. Just one less thing to worry about building later. It's an
odd design but for good reason, the raked inner side allows for access to the
bucket chomper without having to bend your back. It's a decent size too, I find
that standard burley buckets are always too small for that large tuna head to
fit into or a full frozen block of WA pillies :-) Next I will drill the holes
and build the chomper, once the boat is ready I will decide how the bracket
will work.
 |
|
Quick sketch of the burley bucket mounted to boat transom.
Because of the funky transom design, there is a fair reach to get to the burley
bucket but the angled face resolves the issue of reach.
|
A few sequence photos of the bucket being built;
 |
| Setting out for cutting |
 |
| Trusty Bosch Drop saw with carbide tipped Irwin Aluminium Blade, just add Inox or WD40 to the blade and job before you cut the plate. |
 |
| Lining up for the cut - Drop saws are great |
 |
| Cut pieces ready for bevelling |
 |
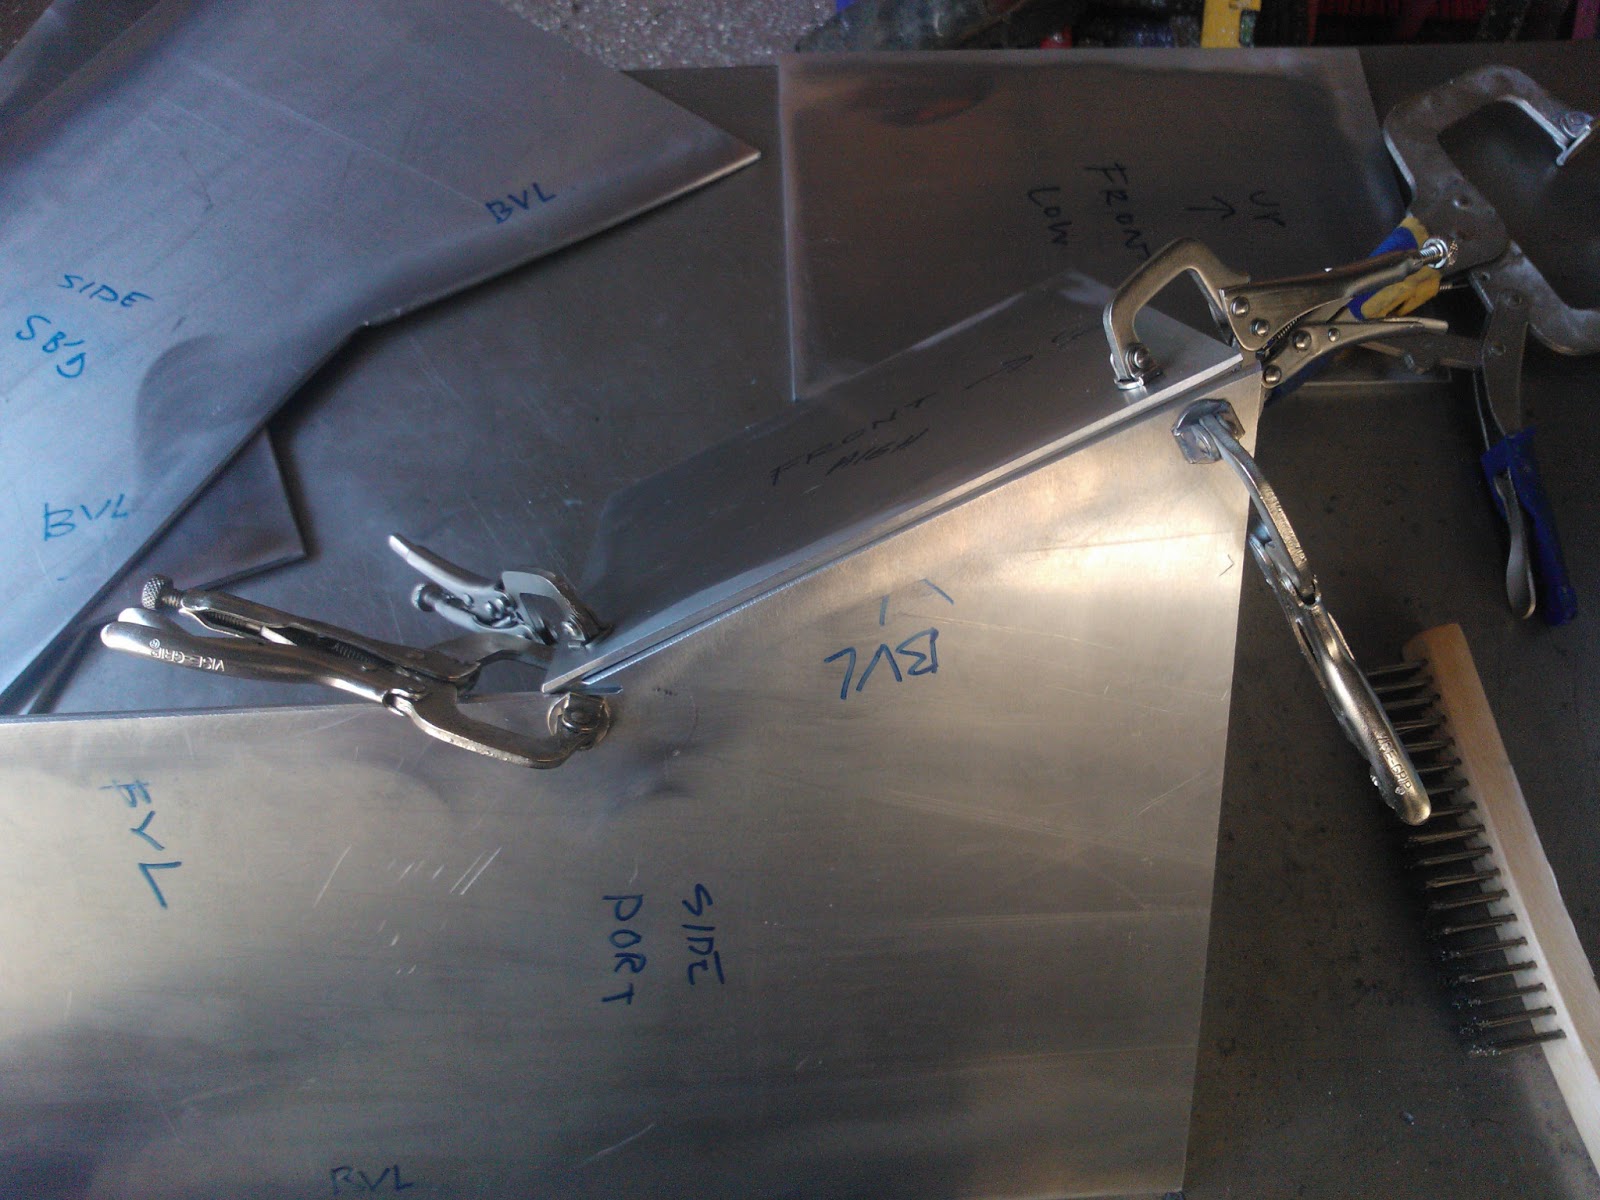
| Getting ready for tacking |
 |
| You can never have too many clamps |
 |
| Bevelling edges prior to welding |
 |
| Checking alignment of plates |
 |
| And checking again |
 |
| First lot of tacks on this side |
 |
| Finished tacking |
 |
| Other tacked side |
 |
| Outside welds |
 |
| Finished and water tested for leaks :-D |
 |
| Serious aperture! |
 |
| Still no leaks....Not that it matters really... |
 | |||
| Just needs holes on sides, back and bottom and a nice long burley munching stick in aluminium. |
 |
| Drilling the 10.5mm dia holes with a drill press |
 |
| Finished holes, three sides & bottom. The front or face that mounts to the transom won't have any holes until the boat transom mounting is sorted. |


Comments
Post a Comment